Our Quality Assurance (QA) procedure mandates that we achieve a cost effective and consistent product quality with each project.
This is so that we may meet with the expectations of our customers. A permanent element of the Glasfil production process is the quality control and verification of all material used. Close collaboration with suppliers of chemicals and machinery benefit Glasfil in quickly responding to market developments and new customer demands.
Glasfil Polymer Sdn Bhd has a comprehensive in-house testing facility to conduct full test specifications as required by the customers. The implementation of CSI (Customer Satisfaction Index) and CPK (Process Capability Index) are parameters to measure the degree of product acceptance.
Once an order is made by a customer, we will produce a sample batch first. The QA procedure starts by performing a Quality Control (QC) check on the first production sample. If the sample fails the QC check, a measurement report will be submitted to the production supervisor and a new sample will be made. If the sample passes the QC check, only then will we proceed to the mass production phase. During the mass production, an In-process Quality Control (IQC) process will take place where the finished parts will go through a QC inspection where the parts will be checked for any defects and if the properties of the part meets the customers requirements. If all is good, and there are no problems with the parts during the QC inspection then they will be packed and shipped to the customer. However, if the parts fail the QC inspection the quality issues will be reported to the production supervisor so that it may be rectified.
A strict and tight in-process checking and inspection is performed every 15 minutes during production to achieve our main objectives of zero-defect and 100% CSI. We also ensure that all our products are RoHS and WEEE compliances.
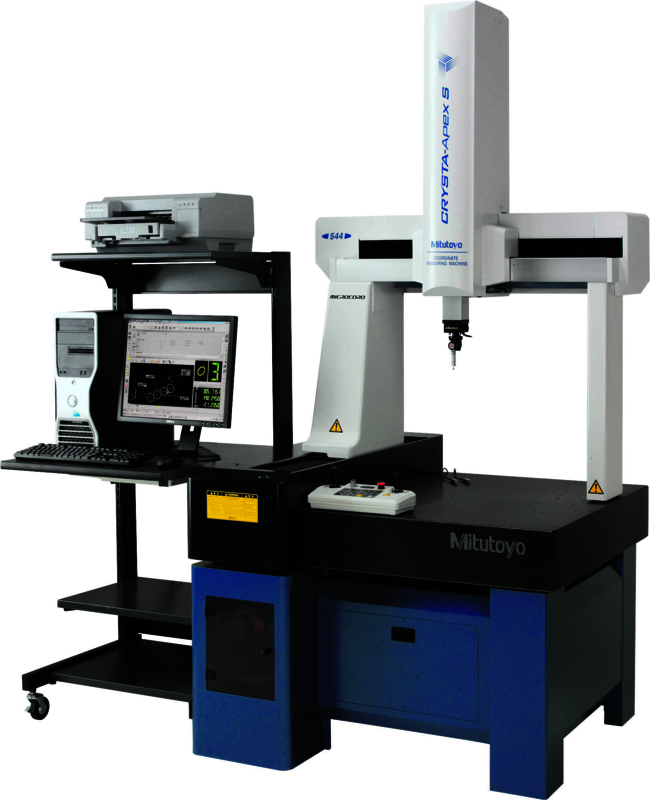
CRYSTA-Apex S544
19.7″ (500mm)
0.000004″ (0.0001mm)
Granite
21.46″ (545mm)
42.60″x 44.17″x 86.02″
(1082 x 1122 x 2185mm)
(1.7+3L/1000)µm1 (1.7+4L/1000)µm2
191-244
15.7″ (400mm)
Air bearing on each axis
25.11” x 33.86″ (638mm x 860mm)
396lbs (180kg)
2.3µm / 50 seconds
Bridge Type
15.7″ (400mm)
M8x1.25mm
1.7µm
1135lbs (515kg)
20.43”/s (519mm/s)
0.23G (2,309mm/s2)
