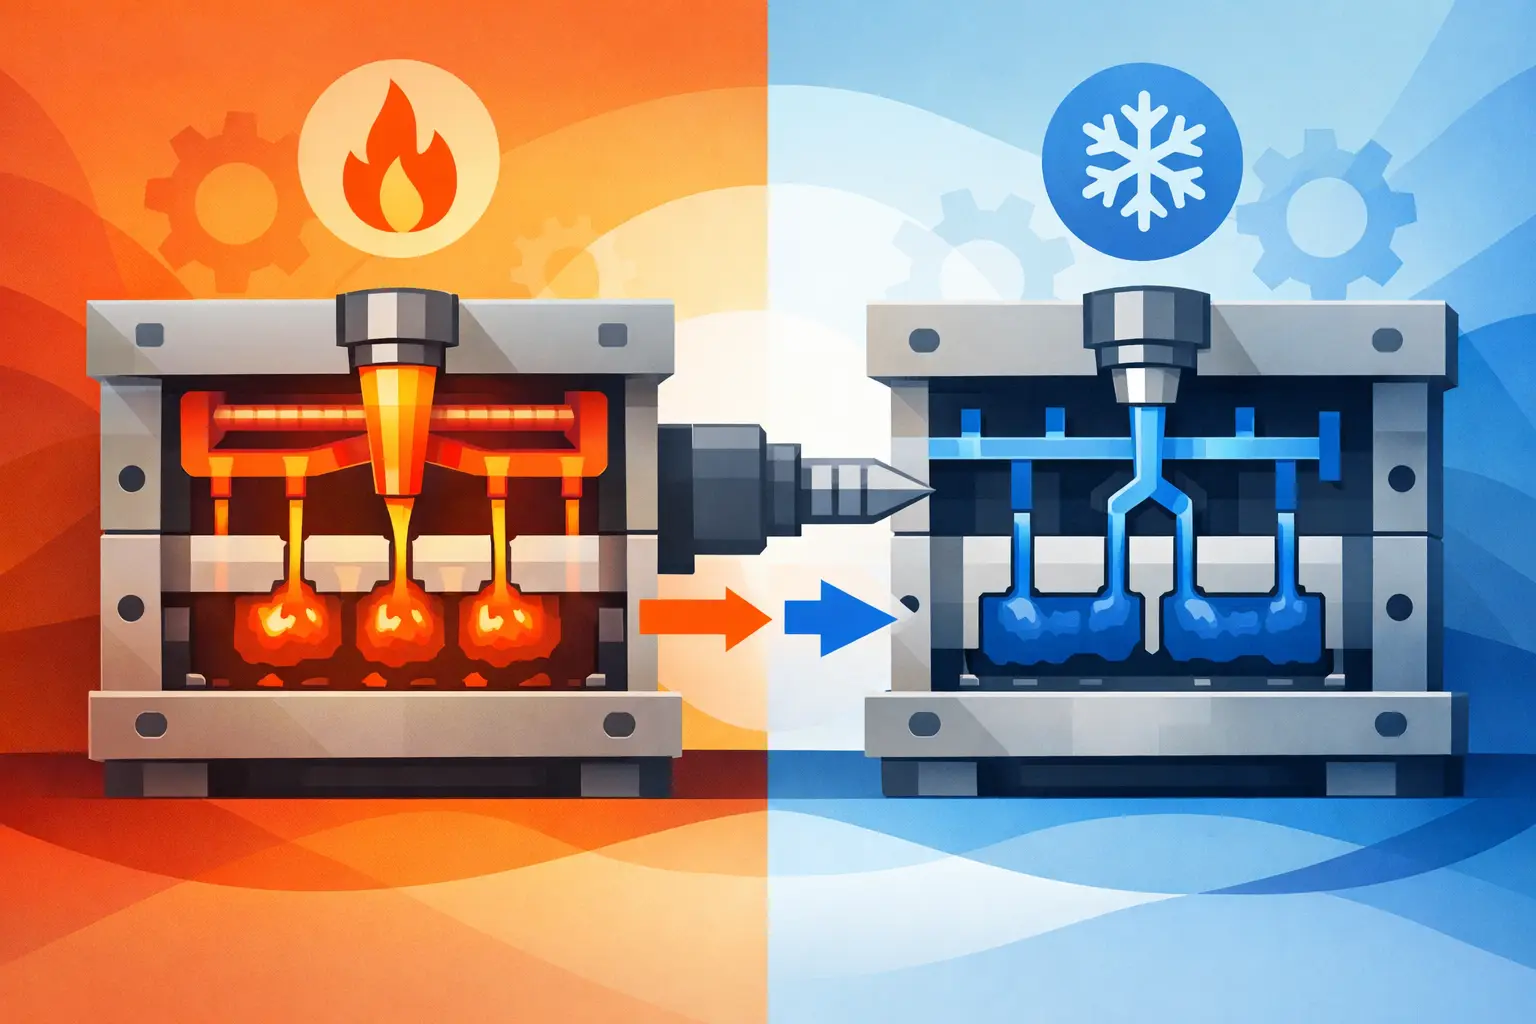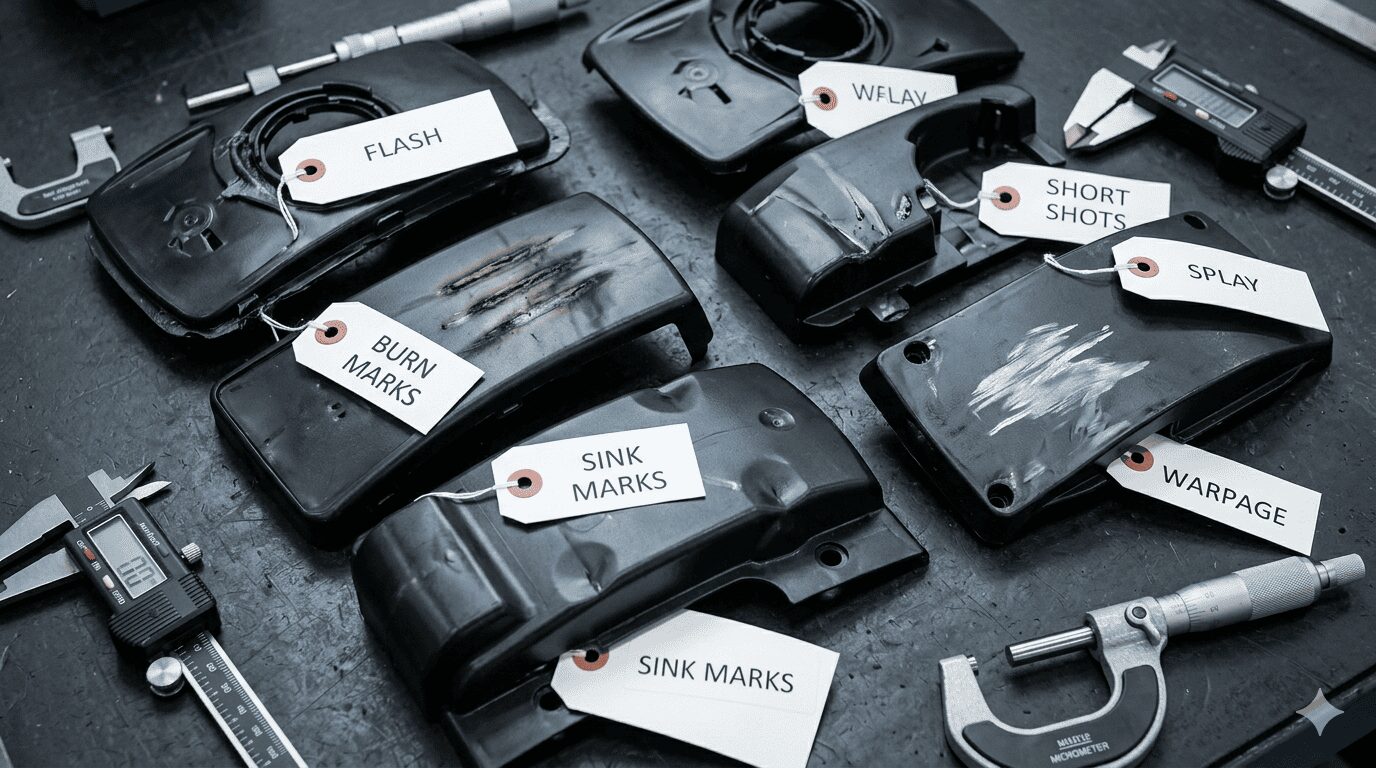
A moulded part rarely fails for just one reason. Sink marks, flash, short shots, warpage, burn marks, and splay usually point to a chain of decisions made earlier – in part design, material selection, tooling, setup, or maintenance. If you are looking at how to reduce moulding defects, the fastest gains usually come from treating the process as a connected system rather than adjusting one machine setting at a time.
For OEMs, product developers, and sourcing teams, defect reduction is not only a quality issue. It affects launch timing, scrap cost, labour, downstream assembly, and customer confidence. A good moulding partner works backwards from the defect to the real source, then fixes it where control is strongest.
How to reduce moulding defects at the source
The most effective way to reduce defects is to prevent instability before production starts. Once a tool is running at volume, every recurring defect becomes more expensive. Extra inspection, sorting, rework, machine downtime, and late shipments all add cost that could have been avoided through stronger engineering control upstream.
That starts with part design. Wall thickness, rib geometry, gate location, draft, corner radii, and parting line strategy all influence how resin flows, packs, cools, and ejects. If a part has heavy sections next to thin walls, sink and warpage become more likely. If the draft is too tight, drag marks and ejection issues follow. If vents are inadequate around end-of-fill areas, gas traps and burns show up quickly.
Tool design is the next control point. A well-designed mould supports balanced filling, consistent cooling, proper venting, and predictable part release. Many defects that appear to be process problems are actually tooling limitations. Operators can sometimes compensate, but compensation usually narrows the processing window instead of improving it.
Material choice also matters more than many buyers expect. Different resins shrink differently, absorb moisture at different rates, and respond differently to shear and heat. A part that runs cleanly in one grade may warp or splay in another, even when the geometry stays the same. When cost-down material substitutions are proposed, the defect risk should be reviewed before production changes are approved.
The most common defects and what usually causes them
Short shots are usually tied to incomplete filling. That may come from low injection pressure, slow fill speed, poor venting, cold material, restrictive gates, or flow paths that are too long for the selected resin. Raising pressure alone may help temporarily, but if the root cause is poor gate sizing or trapped air, the defect will return.
Flash often signals the opposite condition. Excessive injection pressure, poor clamp support, worn shut-offs, or a mismatch at the parting line can force material where it should not go. In some cases, the process is being pushed too hard to solve another issue, such as underpacking or inconsistent fill. That is why flash should be investigated in context, not treated as an isolated trimming problem.
Sink marks and voids are usually linked to shrinkage in thicker sections. If the part cannot be packed effectively before the gate freezes, the surface may pull inward, or internal voids may form. Geometry is often the main driver here. Process adjustments can reduce the symptom, but redesigning heavy sections or changing gate strategy often delivers a more permanent fix.
Warpage tends to be more complex because it can be caused by uneven cooling, non-uniform wall thickness, molecular orientation, or differential shrinkage. A flat part that leaves the mould looking acceptable may still move later as internal stress relaxes. When assembly tolerances are tight, warpage becomes one of the most costly defects because it may not be obvious at first inspection.
Burn marks and splay point to heat, gas, or moisture problems. Burn marks often come from trapped air compressed at the end of the fill. Splay may come from wet material, contamination, or excessive shear. These defects are good reminders that moulding quality is shaped by preparation as much as machine settings.
Process control beats trial-and-error adjustment

If the goal is to understand how to reduce moulding defects consistently, process discipline matters more than heroic troubleshooting. Trial-and-error changes can make a bad run look better for an hour, but they rarely create a stable process window.
A better approach is to identify the critical variables for each part and lock them down. Melt temperature, mould temperature, injection speed, pack pressure, hold time, cooling time, back pressure, screw recovery, and cushion should be monitored against approved limits. That gives production teams a baseline for detecting drift before scrap increases.
Scientific moulding principles are useful here because they separate fill, pack, and cool behaviour instead of blending everything into a general setup. When the process window is built around the part and resin rather than operator preference, repeatability improves. That is especially important for multi-cavity production, tighter tolerance parts, and programs that need to transfer between machines or production sites.
It also helps to recognise when a process is being forced to mask a tooling issue. If the machine must run at extreme pressure, narrow timing, or unusually high temperature just to make acceptable parts, the setup is fragile. A small variation in material lot, ambient conditions, or machine performance can push it out of control.
Material handling is a hidden defect driver
Material handling does not get the same attention as tool design, but it should. Resin that is improperly dried, mixed inconsistently, or exposed to contamination can create defects that look mechanical but are actually material-related.
Hygroscopic resins are especially sensitive. If they absorb moisture and are processed wet, hydrolysis can damage the polymer and show up as splay, brittleness, surface defects, or loss of physical properties. In these cases, the part may pass visual inspection while failing later in use.
Regrind control is another factor. Reprocessed material can be useful and economical, but only when percentage, particle size, thermal history, and application risk are controlled. Too much variation in regrind content can affect viscosity, colour, shrinkage, and surface quality. For appearance parts or critical functional components, that variability can become a recurring defect source.
Material traceability matters as well. When issues arise, production teams need to know exactly which lot ran, how it was dried, and whether any blend changes were made. Without that information, root-cause analysis becomes slower and more expensive.
Tool maintenance is part of defect prevention
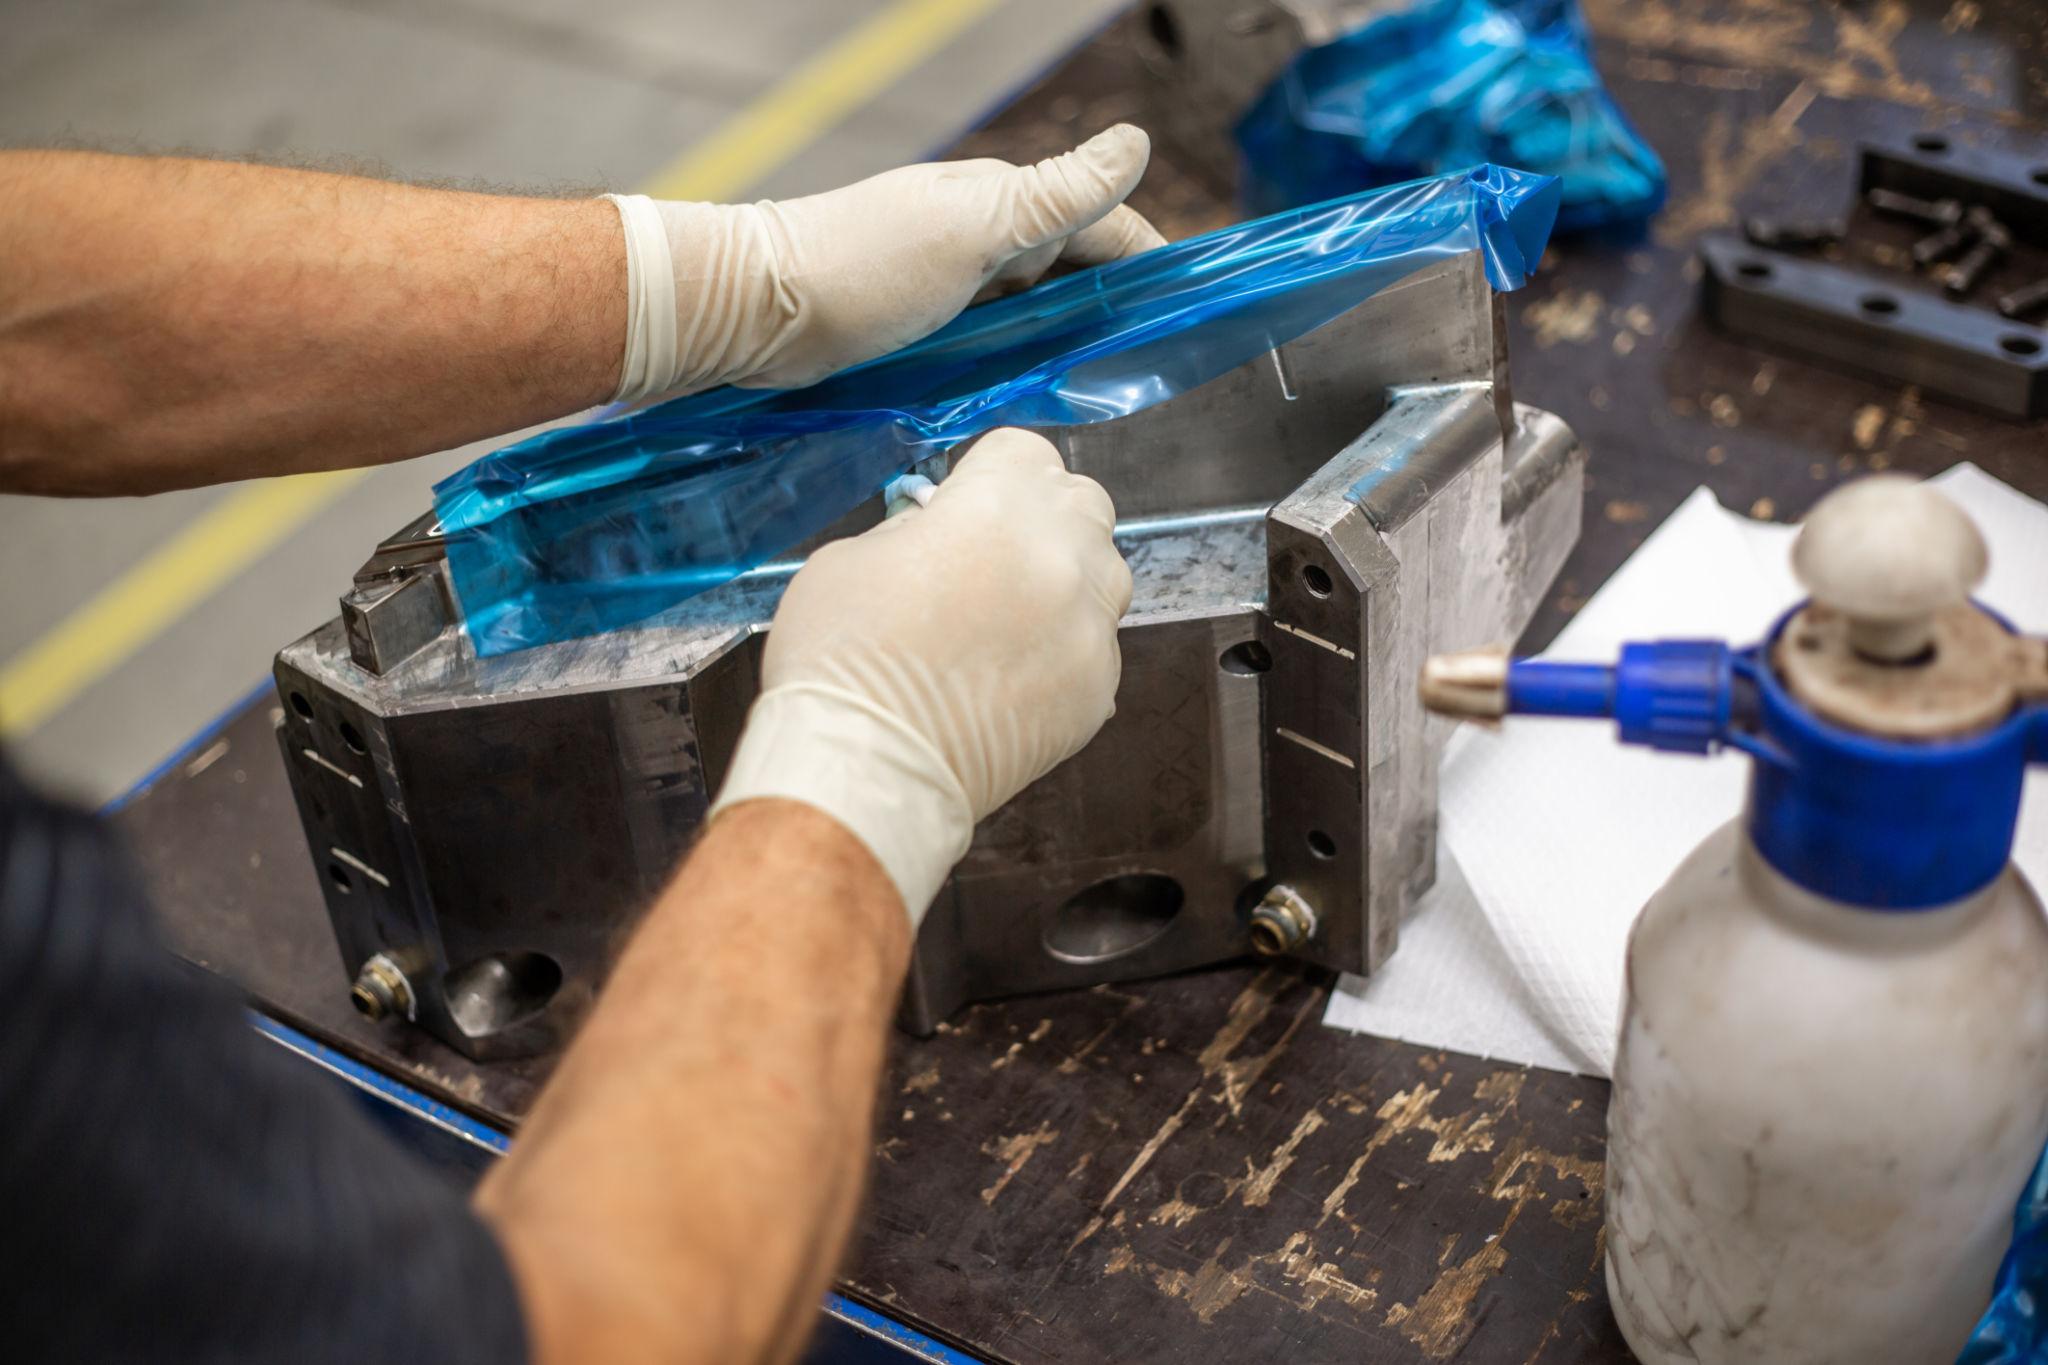
Even a strong mould design will not hold tolerance forever without maintenance. Vents clog. Shut-offs wear. cooling channels scale up. Ejector components lose alignment. Small changes inside the mould can create visible quality problems long before a catastrophic failure happens.
Preventive maintenance should be tied to cycle count, resin type, and part criticality. Glass-filled materials, abrasive additives, and high-volume programs increase wear and demand closer monitoring. Waiting until flash, drag marks, or dimensional shift become obvious usually means maintenance has already been delayed too long.
For buyers, this is one reason in-house tooling control matters. When mould design, fabrication, modification, and maintenance are managed under one operation, corrective actions happen faster. Root causes are easier to verify because the team can inspect the tool, review process history, and implement changes without handoff delays.
How to reduce moulding defects in production scale-up
A process that works during sampling can still fail at production scale. Shift changes, longer run times, cavity-to-cavity variation, and material lot changes all expose weaknesses that short trials do not catch.
That is why scale-up should include capability checks, cavity balance review, first-article validation, and ongoing in-process inspection tied to the real risk points of the part. Cosmetic parts may need stricter surface standards. Assembly components may need dimensional monitoring across critical interfaces. Functional parts may require performance checks after moulding and after conditioning.
This is also where supplier structure matters. A one-step vendor may identify the defect but lack control over tool modifications, secondary operations, or inspection planning. An integrated manufacturing partner can move faster because engineering, tooling, moulding, finishing, and quality are aligned around the same production target. At Glasfil, that in-house control is what allows faster corrective action when a part needs refinement before full-volume release.
Reducing defects is rarely about one perfect setting. It is about building a process that stays stable when real production pressure starts. The companies that do this well treat defect reduction as an engineering discipline, not a sorting activity.
The best time to fix a moulding defect is before the first production run. The second-best time is the moment a recurring issue shows you that the process is relying on luck instead of control.
Whether you are troubleshooting an existing part or preparing for a new production launch, contact us to help you build a more reliable moulding process from design through full-scale manufacturing.