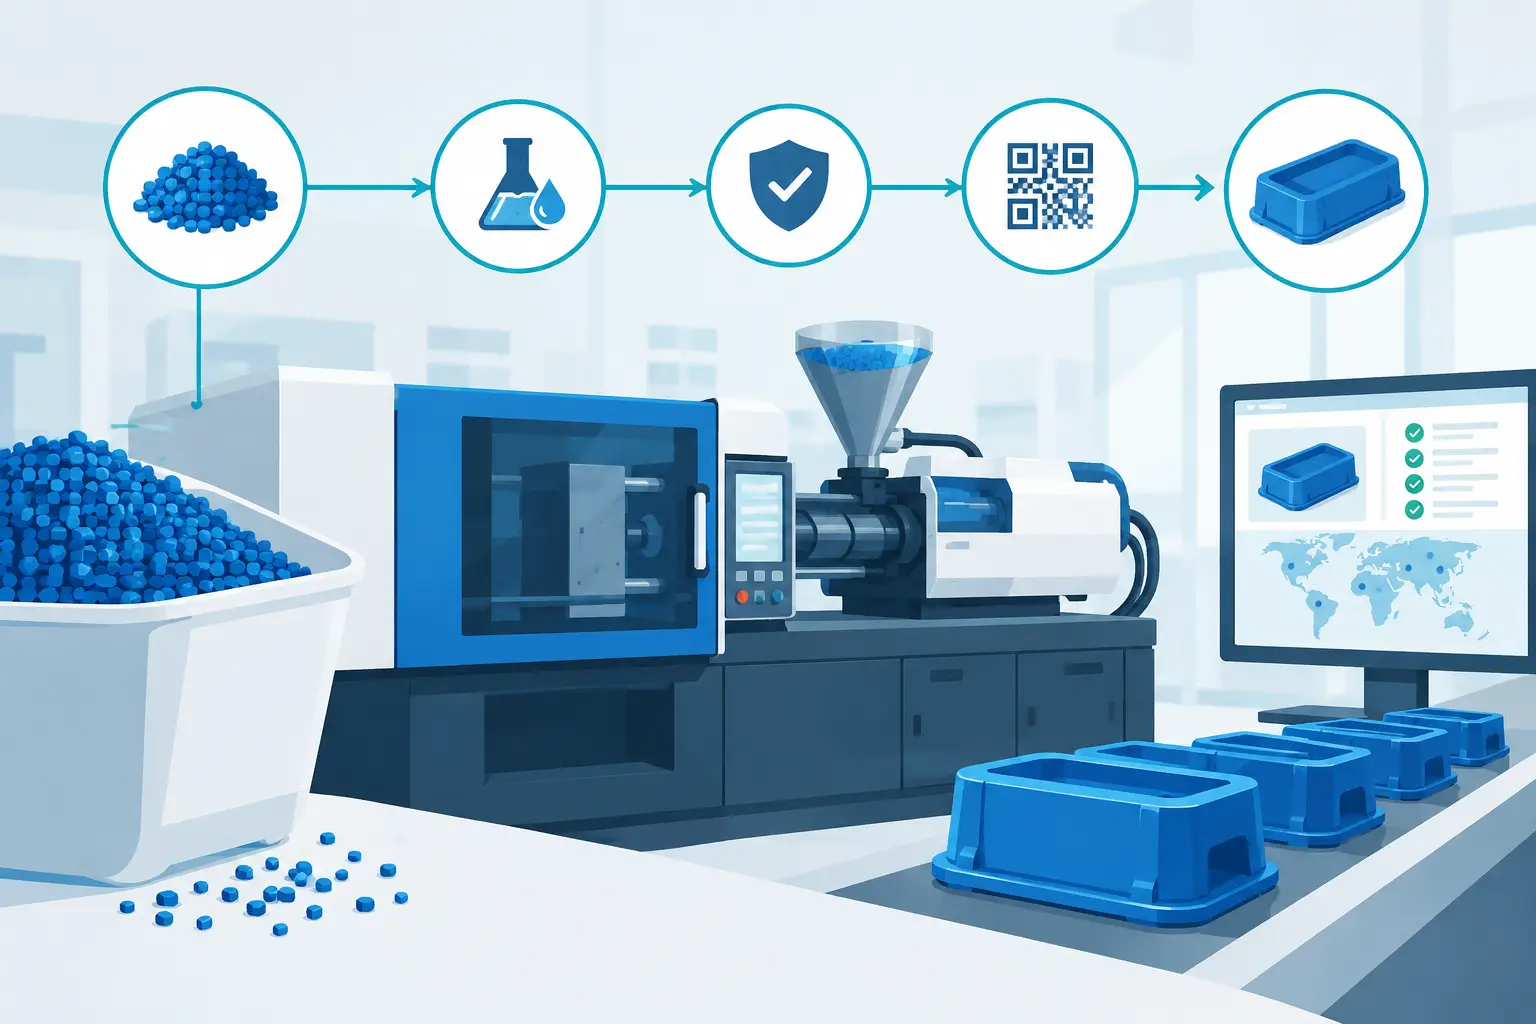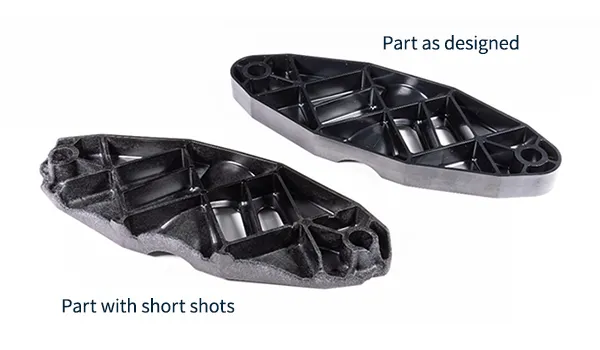
A short shot is not simply an incomplete part. It is evidence that molten plastic did not reach, fill, or pack every required area of the mold cavity before the flow path froze off. For OEMs and product teams, effective short shot reduction protects more than part appearance. It protects assembly fit, functional performance, delivery schedules, material cost, and confidence in repeat production.
The right response is not to increase pressure blindly. Short shots result from the interaction of material behaviour, part geometry, tooling condition, machine capability, and process settings. Identifying the limiting factor quickly is what separates controlled troubleshooting from expensive trial and error.
What Causes Short Shots?
A short shot occurs when the available flow energy is insufficient for the material to fill the cavity. The missing section may appear at the end of flow, in a thin wall, around a rib, near a weld line, or in a remote feature that receives plastic last. The location matters because it points toward the source of the restriction.
Low injection pressure or injection speed is a common cause, particularly when a setting has been reduced to control flash, burn marks, or stress. However, pressure is only one part of the picture. If the melt is too cold, the mold is too cold, the gate is undersized, or the runner system creates excessive pressure loss, higher pressure may only mask the real issue.
Air trapped inside the cavity can create the same result. As plastic advances, displaced air must escape through vents, parting lines, ejector clearances, or purpose-designed vent channels. If it cannot, compressed air resists the melt front. In severe cases, the trapped air heats up and causes burn marks near the incomplete area.
Material condition also deserves close attention. Moisture-sensitive resins that are not dried correctly can show unstable flow behavior and cosmetic defects. Regrind levels, lot-to-lot variation, incorrect melt preparation, and contamination can all change viscosity. A process that filled reliably last month may become marginal when the material behavior changes.
Part and mold design are equally significant. Long flow lengths, thin walls, sharp transitions, restrictive gates, and unbalanced multi-cavity layouts raise the risk of incomplete filling. These conditions are manageable when they are addressed during engineering and tooling development. They become far more difficult when discovered after a mold is approved for volume production.
Short Shot Reduction Starts With Evidence
The fastest path to short shot reduction is to make the defect repeatable and document exactly where it occurs. Record the affected cavity, material batch, dryer condition, mold temperature, melt temperature, injection profile, cushion, cycle time, and machine used. A short shot that appears randomly across cavities requires a different investigation from one that consistently affects cavity four or the same thin feature.
A controlled short-shot study can reveal how the cavity fills. By intentionally reducing the shot size in small increments, the molding team can observe the progression of the melt front before the cavity is completely filled. This is useful for diagnosing hesitation, race tracking, uneven filling, gate restrictions, and air entrapment. It also shows whether the issue is related to filling or to packing after the cavity appears full.
The goal is not to adjust every parameter at once. Change one relevant variable, confirm the result, and establish a stable window. When multiple settings are changed together, a temporary improvement can hide a weak process that fails during the next shift, material change, or production transfer.
Check the Material Before Changing the Mold
Start with the basics: confirm that the specified resin is being used, verify drying requirements, and review actual drying time and temperature. Check whether colorant, additives, or regrind content have changed. For engineering-grade materials, even small deviations in moisture control or melt preparation can affect flow enough to create marginal filling.
Then evaluate melt temperature and back pressure. Raising melt temperature can improve flow, but it also increases the risk of degradation, discoloration, excessive shrinkage, cycle-time growth, or flash. The correct target is not the highest possible temperature. It is a stable melt condition within the resin supplier’s recommended processing range.
Tune the Fill Phase With Purpose
Injection speed should match the material and part geometry. A fill rate that is too slow can allow the melt front to freeze before it reaches thin or distant features. A fill rate that is too fast can trap air, cause burn marks, increase shear stress, or produce flash at weak parting lines.
Many difficult parts benefit from a staged injection profile. The machine may begin at a controlled speed through the gate, increase speed through long flow sections, then reduce speed as the cavity approaches full. This is particularly useful for components with varying wall thickness, cosmetic surfaces, delicate inserts, or complex internal geometry.
Transfer position also matters. If the machine switches from velocity control to pressure control too early, the cavity may never fill. If it switches too late, the process can become pressure-intensive and create flash or stress. A consistent cushion and verified transfer point give the molder a reliable baseline for adjustment.
Tooling Changes That Reduce Short Shots
When process adjustments cannot create a wide, repeatable window, the mold must be reviewed. A production tool should support the part rather than force the machine to operate at its limits.
Gate size and gate location are often decisive. A gate that freezes too early prevents material from reaching the end of flow or packing critical features. Enlarging a gate may improve filling, but it can also increase gate vestige, extend cooling time, and complicate automatic degating. The best change depends on the part’s cosmetic, functional, and assembly requirements.
Runner balance is especially important in multi-cavity tools. If one cavity repeatedly short shots while others fill normally, the issue may be an unbalanced runner, unequal gate dimensions, local temperature variation, or venting differences. The answer is not always to increase overall pressure. Doing so can overpack good cavities while the weak cavity remains unstable.
Venting must be clean, sufficient, and maintained. Vents that are too shallow may not release air effectively. Vents that are too deep can flash. Over time, residue, corrosion, and wear can reduce vent performance. Regular inspection is essential, especially with high-volume tools and materials that build up deposits.
Cooling also affects filling. Uneven mold temperature can cause one region of the cavity to freeze early, creating short shots in the same location. Verify water flow, circuit temperature, blockage, scale buildup, and thermal consistency across cavity inserts. A mold can look mechanically sound while performing poorly because heat is not being managed consistently.
Design for a Wider Processing Window
The strongest short-shot prevention begins before steel is cut. Part geometry should be assessed for flow length-to-wall-thickness ratio, abrupt wall transitions, thin ribs, isolated details, and features that may trap air. Gate location, weld-line placement, material selection, and expected cosmetic requirements should be reviewed as a connected system.
For example, a highly filled material may provide the stiffness or dimensional performance a component needs, but it will generally flow differently from an unfilled grade. A thin-wall electrical housing may require a different gate strategy than a thicker construction component, even if both use the same base polymer family. There is no universal process setting that compensates for a design that leaves no practical flow margin.
This is where integrated tooling and molding capability has a clear advantage. At Glasfil, mold design, fabrication, modification, molding, and quality control are handled in-house, allowing process findings to move quickly into practical tooling corrections. That reduces the delay and uncertainty that often occur when responsibility is divided between separate suppliers.
Validate the Fix for Production, Not One Good Cycle
A short shot is only resolved when the corrected process remains capable across normal production conditions. Run the tool long enough to confirm cavity-to-cavity consistency, verify critical dimensions, inspect cosmetic areas, and test the part in its intended assembly where possible. A part that fills correctly but warps, flashes, or fails an assembly requirement is not an effective solution.
Document the approved process window, including acceptable material preparation conditions and machine settings. Control plans should identify the characteristics most likely to reveal a return of the problem, such as part weight, cavity fill, gate appearance, critical dimensions, or visual inspection points. For high-volume programs, periodic cavity comparison helps identify gradual changes caused by vent wear, gate erosion, cooling restrictions, or machine variation.
Short shot reduction is ultimately a process-control discipline. When material flow, mold design, venting, machine settings, and quality verification are managed as one production system, incomplete parts stop being a recurring firefight and become a preventable exception.
Contact us to discuss your project, request a quotation, or arrange a technical consultation. Our team will help you determine the most cost-effective and reliable way to manufacture your part.