A tooling quote can look like a single number, but it represents a series of engineering and production decisions that will affect every part you make. Knowing how to estimate tooling costs for injection molding gives product teams and procurement buyers a better way to compare quotes, protect launch schedules, and avoid paying for the wrong level of mold capability.
The objective is not simply to find the lowest mold price. It is to specify a tool that produces the required quality, at the expected volume, for the intended product life. An inexpensive prototype mold may be the correct decision for a short run. That same mold can become an expensive problem when demand rises, tolerances tighten, or downtime begins to interrupt supply.
Start With the Part, Not the Mold
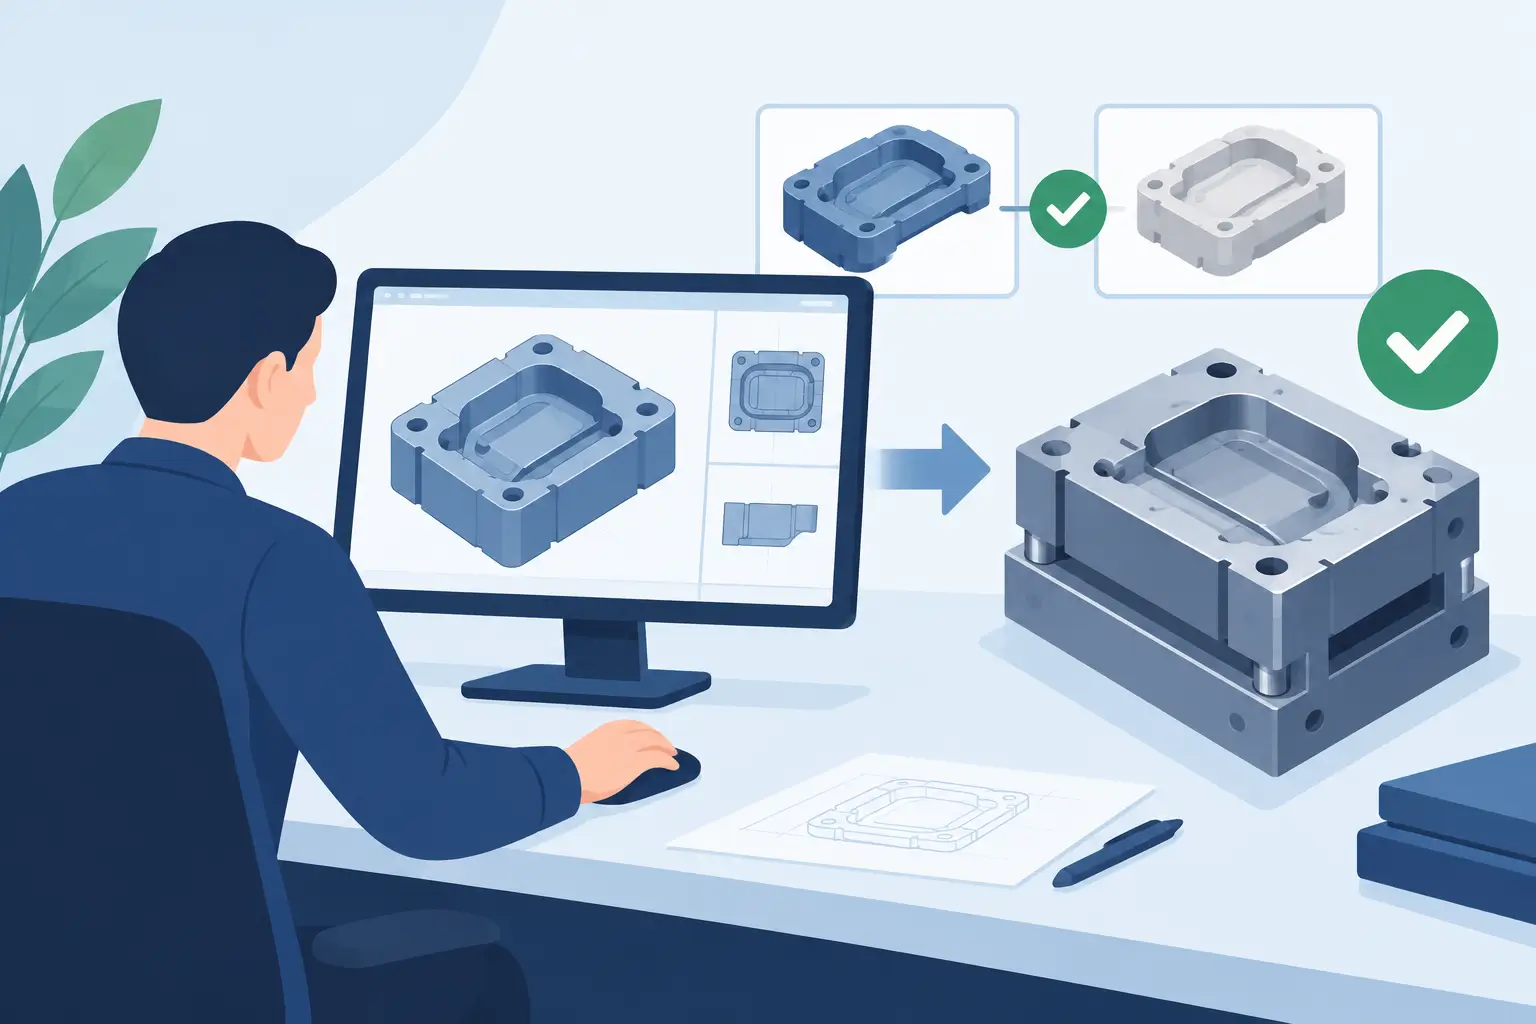
Tooling cost begins with part geometry. Before a mold maker can price steel, machining, and assembly, they need a stable 3D model, material selection, estimated annual volume, cosmetic requirements, and critical dimensions. A missing requirement at this stage usually reappears later as a change order, a longer lead time, or both.
Part size is a primary driver because it determines the mold base, machine tonnage, cooling layout, and amount of steel to be machined. Larger parts generally need larger mold plates and more clamping force. A compact electrical housing may run in a smaller press, while a wide automotive trim component can require a substantially larger tool and production machine.
Geometry has an equally strong effect. Straight-pull parts with consistent wall thickness are typically less costly to tool than parts with deep ribs, undercuts, threads, side holes, tight shutoffs, or highly polished visible surfaces. These features are not automatically problems. They simply require the estimate to account for slides, lifters, unscrewing mechanisms, specialized surface finishing, or more careful machining and fitting.
Wall thickness should be reviewed early. Thick sections can extend cooling time and create sink, while abrupt thickness changes can cause warpage. A mold may still produce the part, but it may need more complex cooling, additional tuning, or longer cycle times. Good design for manufacturability work reduces risk before steel is cut, when design changes remain relatively inexpensive.
How to Estimate Tooling Costs by Mold Type
The right mold construction depends on expected demand, part complexity, resin, quality requirements, and the length of the program. When reviewing a tooling estimate, identify what kind of tool is being proposed and why.
A prototype or bridge tool is intended to validate design, test market demand, or support a limited production run. It may use aluminum or pre-hardened steel and often has fewer cavities. Its lower initial price can help move a project forward quickly, but its cycle life, dimensional consistency, and maintenance tolerance may be limited compared with a hardened production mold.
A production mold is built for repeatability over a much longer operating life. It typically uses higher-grade tool steel, more durable components, engineered cooling, and construction standards appropriate for regular production. The up-front investment is higher, but the cost per part can be lower when the mold supports faster cycles, reduced scrap, and fewer interruptions.
Multi-cavity tooling changes the calculation further. Four cavities do not necessarily cost four times as much as one, since the mold base, hot runner system, and certain engineering activities are shared. However, cavity count increases machining, balancing requirements, validation work, and the consequence of a cavity-related defect. For high-volume parts, multi-cavity molds can provide a compelling return. For uncertain or low-volume demand, a single-cavity tool may offer more sensible risk control.
Family molds, which produce different components in one cycle, can reduce initial tooling spend when parts are used in matched quantities. They are less suitable when demand varies by component or when one cavity needs more frequent maintenance. A lower tool price should always be weighed against scheduling flexibility and long-term operational control.
Break the Quote Into Its Real Cost Drivers
A useful estimate separates tooling into understandable cost categories rather than treating the mold as a black box. The following areas usually carry the most weight:
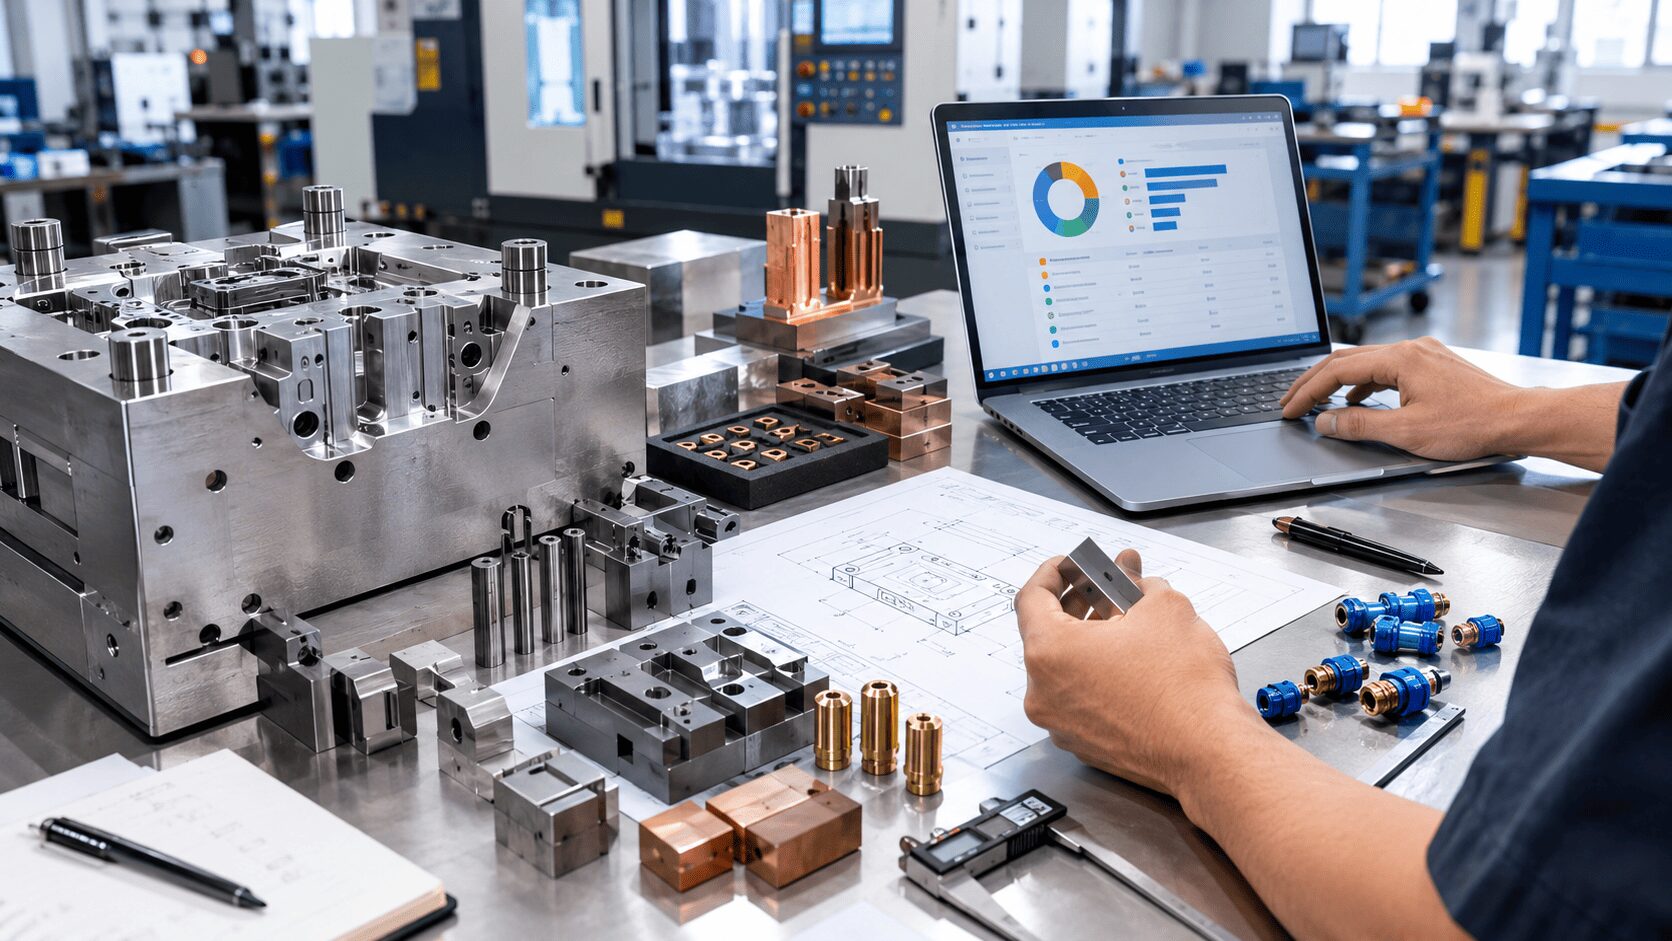
- Mold design and engineering, including design for manufacturability review, mold flow considerations where needed, and detailed tool drawings.
- Mold base and tool steel, selected according to part size, resin abrasiveness, required finish, and expected mold life.
- CNC machining, EDM, grinding, polishing, and hand fitting required to create cores, cavities, shutoffs, and precision interfaces.
- Mold actions and components such as slides, lifters, hydraulic cylinders, ejector systems, date inserts, sensors, and wear parts.
- Runner system selection, including cold runners, hot runners, valve gates, and related temperature-control equipment.
- Cooling circuits, pressure testing, mold assembly, trial runs, dimensional inspection, and final corrections.
Not every project needs every feature. For example, a glass-filled engineering resin is abrasive and may justify hardened steel and wear-resistant components. A basic polypropylene part with moderate volume may not. A high-gloss consumer-facing component may require extensive polishing and carefully placed gates, while an internal industrial component may prioritize strength and cycle time instead.
Hot runner systems deserve particular attention. They can reduce material waste and simplify automation, which may improve the economics of high-volume programs. They also add significant initial cost and require experienced setup and maintenance. The correct choice depends on resin, annual volume, part size, color-change frequency, and acceptable scrap rate.
Include Validation, Not Just Fabrication
A mold is not finished when it leaves the toolroom. It must prove that it can make acceptable parts under repeatable production conditions. Tooling estimates should clearly state what is included in sampling, inspection, adjustment, and approval.
Ask how many trial runs are included and what each trial is intended to verify. Early trials often confirm filling behavior, ejection, cooling performance, part appearance, and basic dimensions. Subsequent trials may be needed to refine shrinkage compensation, reduce warpage, improve surface quality, or achieve critical tolerances.
The estimate should also define the inspection approach. This may include first article inspection, dimensional reports, material verification, color approval, functional checks, and customer-specific documentation. Tight-tolerance parts often require more measurement time and potentially custom gauges or fixtures. Those costs should be visible before the program begins.
Be precise about what happens when a part does not meet specification. Tool modifications caused by a toolmaker’s manufacturing issue are different from changes requested after the customer revises the design. Clear responsibility prevents disputes and keeps the launch plan realistic.
Calculate the Cost Per Part Over the Program Life
The most useful tooling decision is based on total program cost, not mold price alone. Start by dividing the tooling investment by the expected number of good parts over the planned production life. Then add the molded part price, expected scrap, secondary operations, maintenance, packaging, and logistics.
For example, a $40,000 production mold expected to deliver 400,000 good parts contributes $0.10 in tooling cost per part before maintenance. A $20,000 lower-grade tool may appear cheaper, but if it runs a slower cycle, requires frequent repair, produces more scrap, or must be replaced midway through the program, it may cost more overall.
Cycle time is often underestimated in early cost models. A few seconds added to each cycle can have a material effect across hundreds of thousands of parts. Cooling performance, wall thickness, resin choice, gate location, and automation all influence output. A capable manufacturing partner should explain the assumptions behind the projected cycle time rather than presenting a part price without context.
Maintenance also belongs in the lifecycle calculation. Every mold needs preventive cleaning, lubrication, inspection, and replacement of normal wear components. The level of maintenance varies with resin, cycle count, mold complexity, and operating conditions. Planning for it protects uptime and helps maintain part quality over the life of the program.
Avoid Common Estimating Mistakes
The most common mistake is requesting a tooling price before requirements are sufficiently defined. If annual volume, cosmetic standard, resin, tolerance expectations, and target market are unclear, suppliers must make assumptions. Different assumptions produce quotes that are difficult to compare fairly.
Another mistake is comparing tools only by cavity count or steel grade. Two tools can use similar materials yet differ significantly in cooling design, component selection, machining quality, venting, ejection, and validation scope. Those details affect cycle time, defect rates, repair frequency, and the ability to modify the mold later.
Buyers should also consider ownership, storage, maintenance access, and modification capability. Products evolve. A supplier with in-house design, mold fabrication, molding, and repair capability can evaluate a design change against the existing tool quickly, rather than sending the mold through several disconnected vendors.
At Glasfil, tooling decisions are evaluated alongside molding capacity, production requirements, and downstream operations. That integrated view helps prevent a tool from being optimized for fabrication while creating avoidable cost or delay on the production floor.
Build an Estimate That Supports the Launch
A reliable tooling estimate is a decision document. It should identify the proposed mold type, cavity count, steel and runner approach, included validation, expected lead time, operating assumptions, warranty terms, and likely maintenance needs. It should also state what is excluded, particularly design revisions, custom fixtures, special testing, or secondary operations.
The best time to reduce tooling cost is before the design is released, not after machining begins. Give the manufacturing team a complete part model, functional requirements, annual volume forecast, resin specification, and quality expectations. Then evaluate the tool against the complete production program. A well-scoped mold does more than make parts – it gives your launch a more predictable path from approved design to dependable supply.
Contact us to discuss your project, request a quotation, or arrange a technical consultation. Our team will help you determine the most cost-effective and reliable way to manufacture your part.